


There are times when your Starlink internet may slow down, stop working, or refuse to connect altogether. Before you spend time looking for complex fixes, a simple reboot is often all it takes to get everything working again.
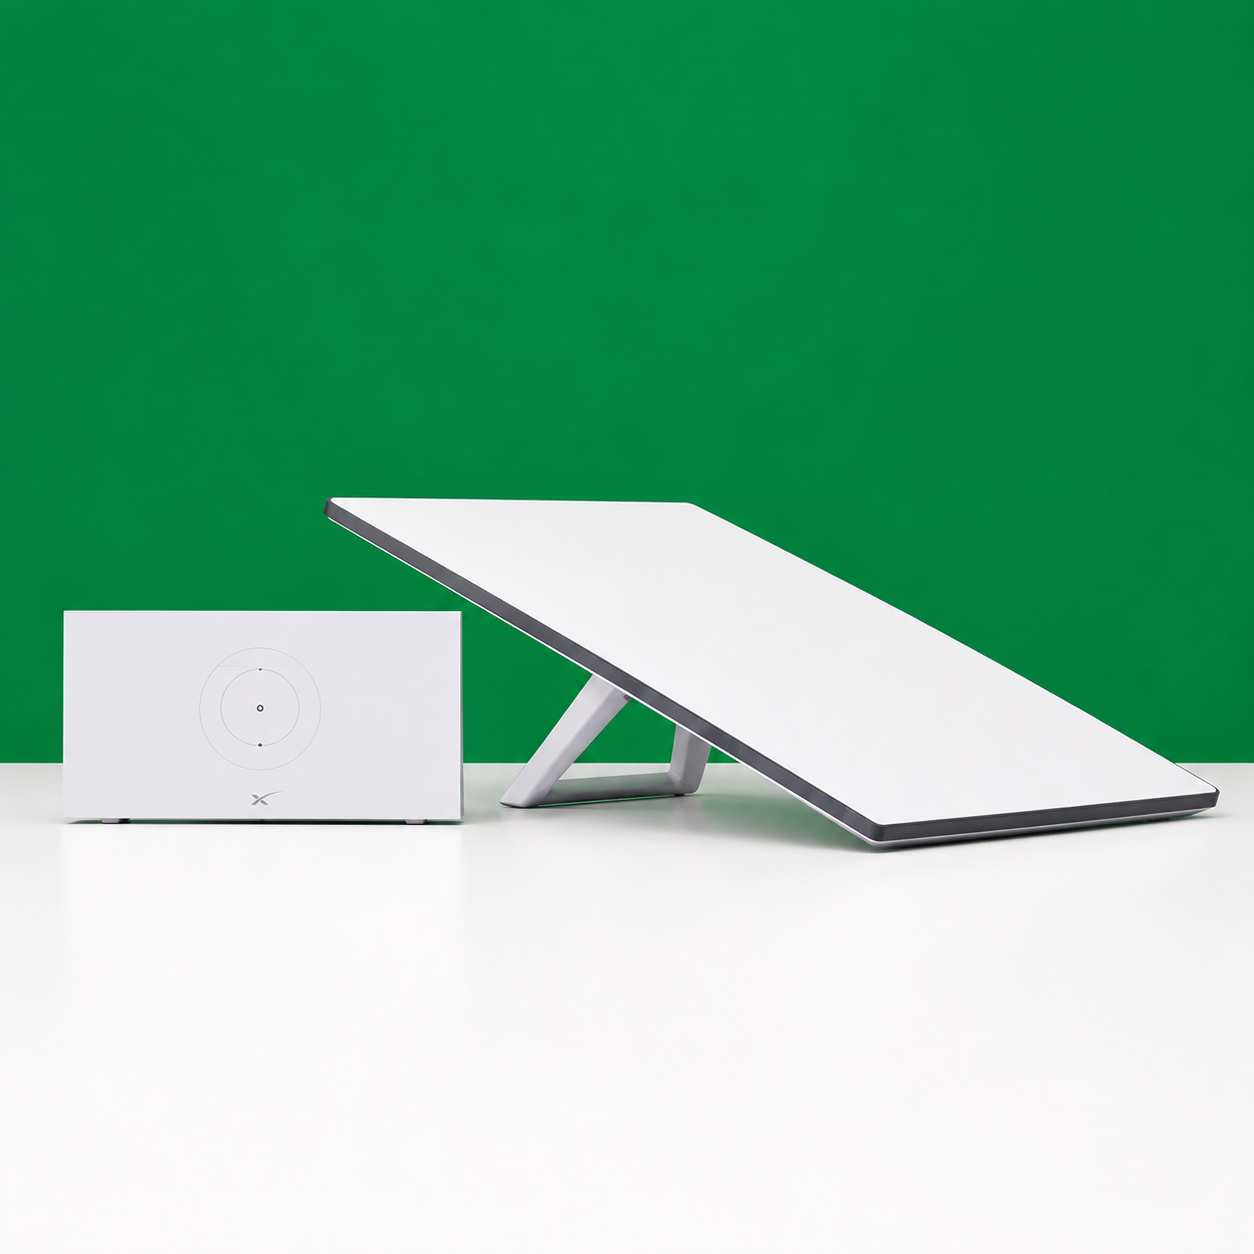
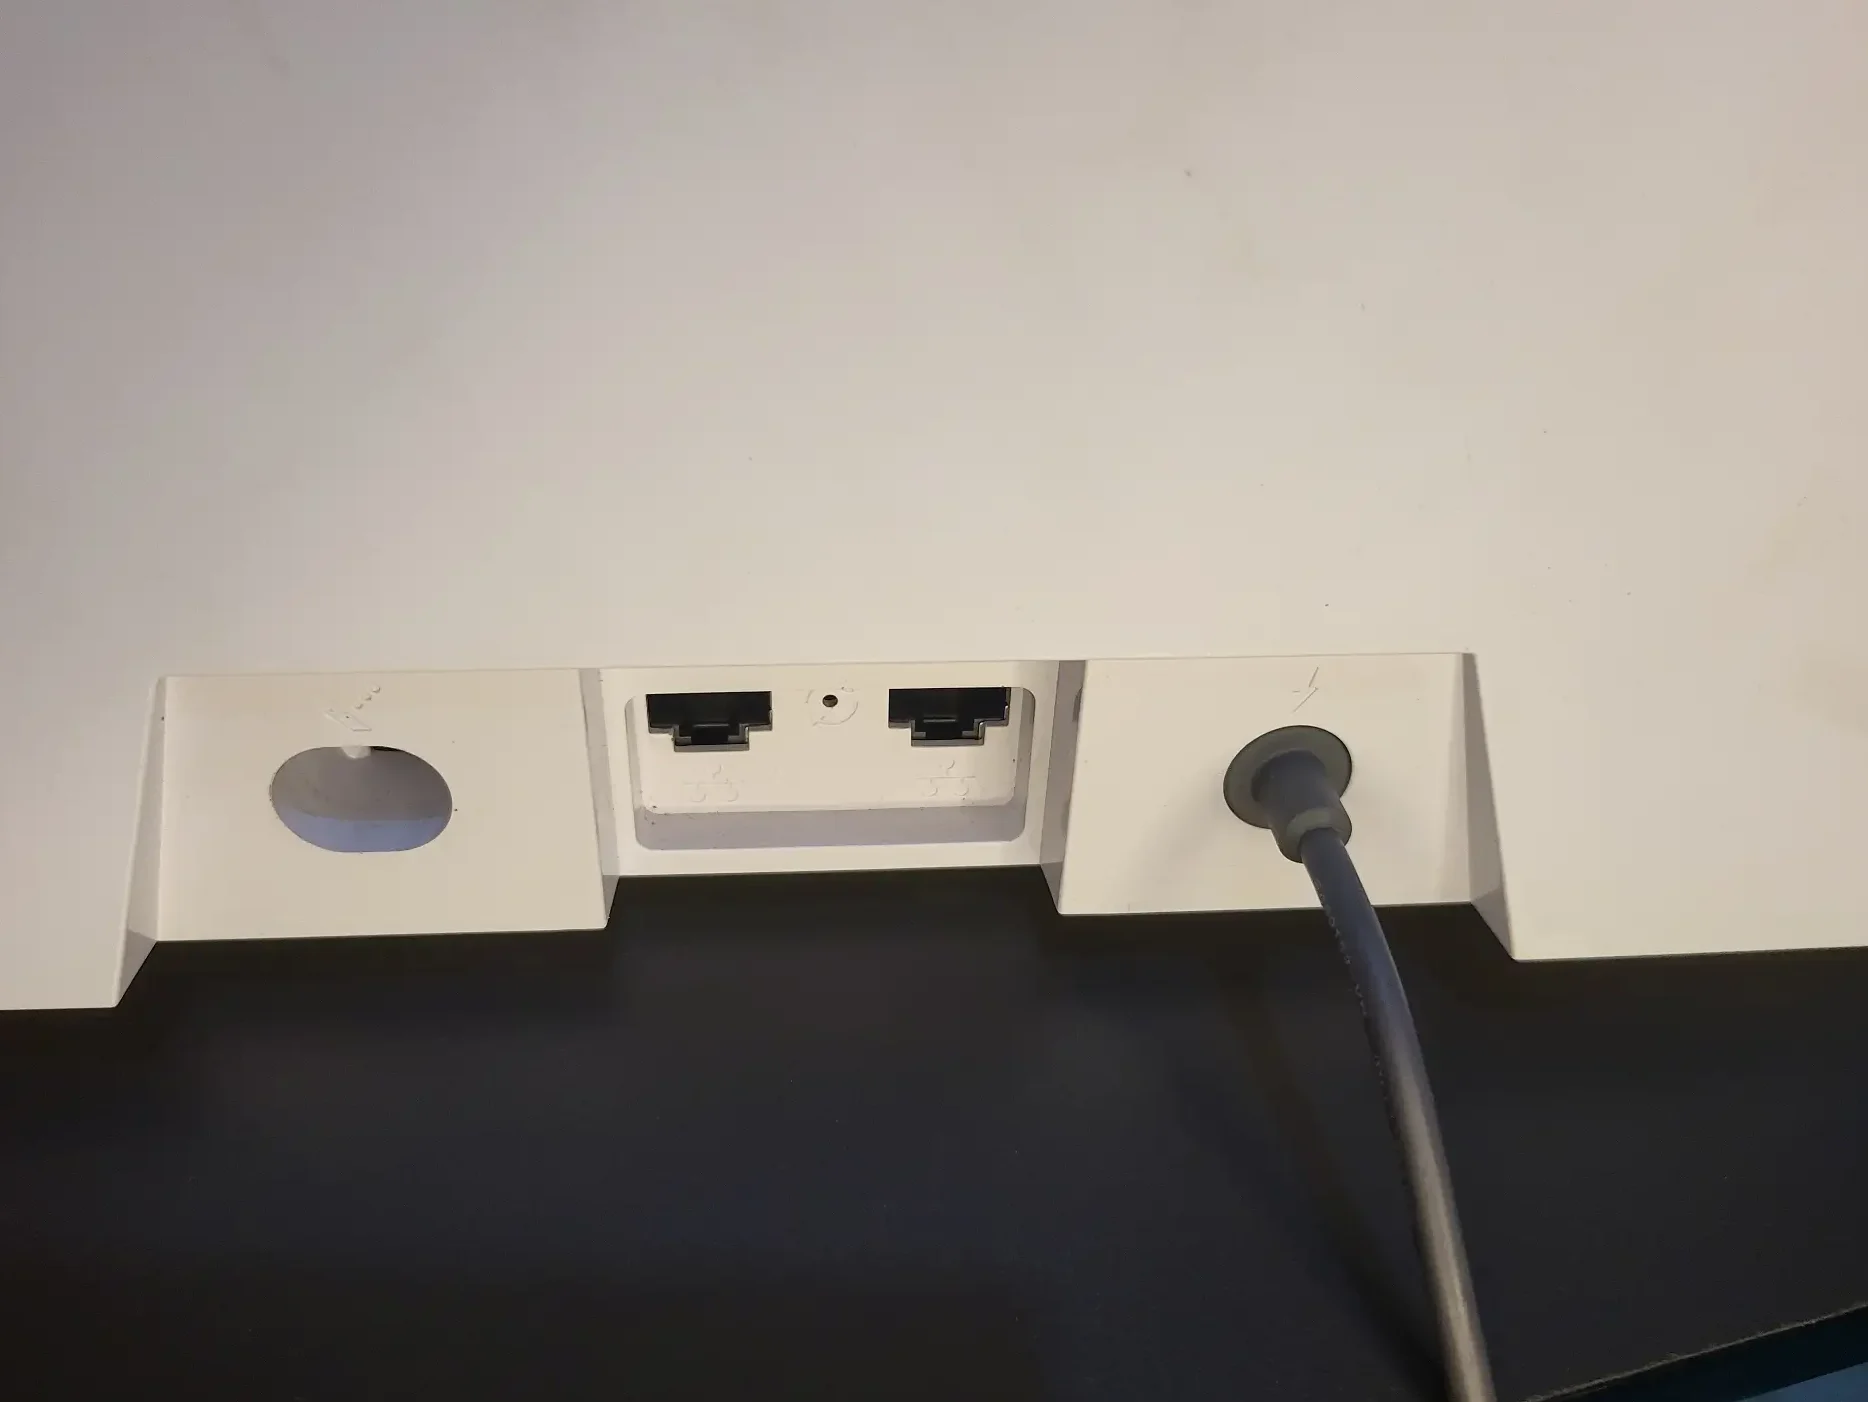
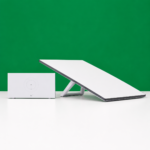
Unlike most WiFi routers, the Starlink router has a very unique design. It doesn’t have a row of buttons for power, WiFi, WPS or reboot. In fact, the only physical button on the router is a sunken factory reset button.
To press it, you’ll need a pin or a similar pointed object. Since that button performs a factory reset rather than a normal restart, it isn’t something you should press when you simply want to reboot your router.
This minimalist design has one major advantage. It prevents accidental button presses, which are common on routers with several exposed buttons. You don’t have to worry about someone switching off the WiFi, triggering WPS, or resetting the router by mistake.
Because there isn’t a dedicated reboot button, you’ll need to use other methods to restart your Starlink system. Fortunately, there are several safe and easy ways to do it without resetting your settings or reconnecting your entire network.
In this guide, I’ll show you four simple ways to reboot your Starlink internet. We’ll start with the easiest method and work our way through the other options, so you can choose the one that works best for your situation.
Rebooting your Starlink temporarily disconnects your internet while the router and dish restart. In most cases, the connection returns within 2 to 10 minutes.
During the reboot, don’t unplug the router again or disconnect any cables unless you’re following one of the methods in this guide. Interrupting the startup process can delay the connection.
You may also notice the Starlink dish moving as it reconnects to the satellite network. This is normal and part of the startup process.
Now let’s look at the easiest way to reboot your Starlink.
If your Starlink router is online and you can access the Starlink app, this is the quickest and easiest way to reboot your system. It doesn’t require unplugging any cables and can be done in less than a minute.
Steps to reboot Starlink using the app
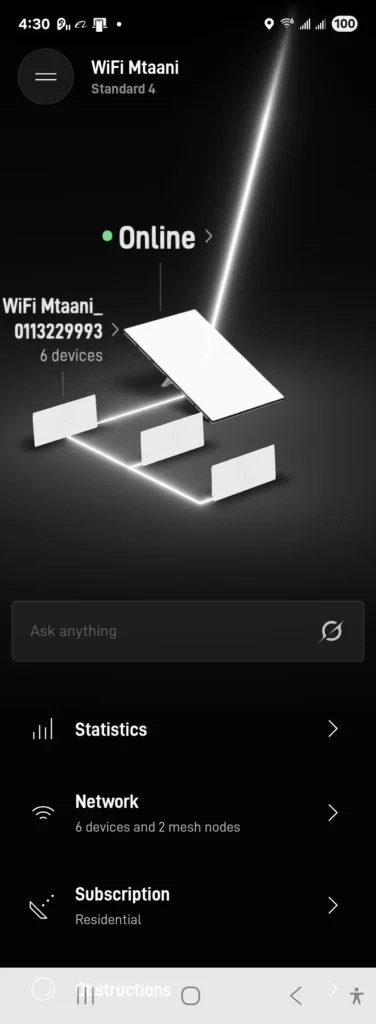
2. Tap Settings.
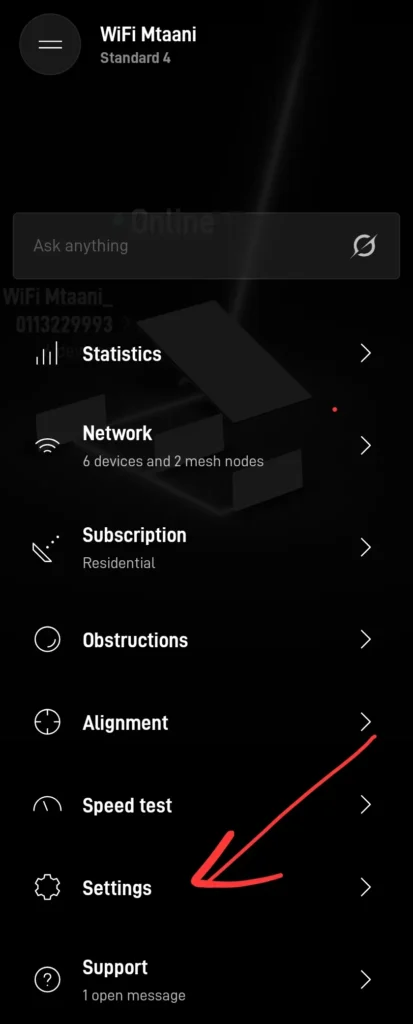
3. Scroll down to the Reboot Router slider.
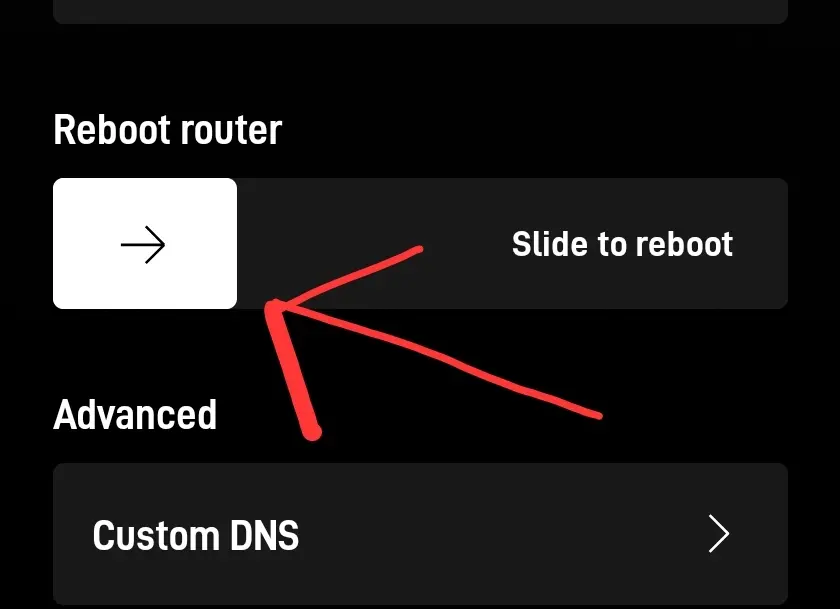
4. Swipe the Reboot Starlink slider to the right.
5. Wait for the router and dish to restart.
After the reboot starts, the app may show that your Starlink is offline or disconnected. This is expected. Give the system a few minutes to reconnect before checking your internet connection again.
Tip: If the app can’t find your Starlink or won’t connect, try one of the other reboot methods below.
If you can’t access the Starlink app or the router has stopped responding, you can restart it by disconnecting it from the power outlet. This completely powers off both the router and the Starlink dish before starting them again.
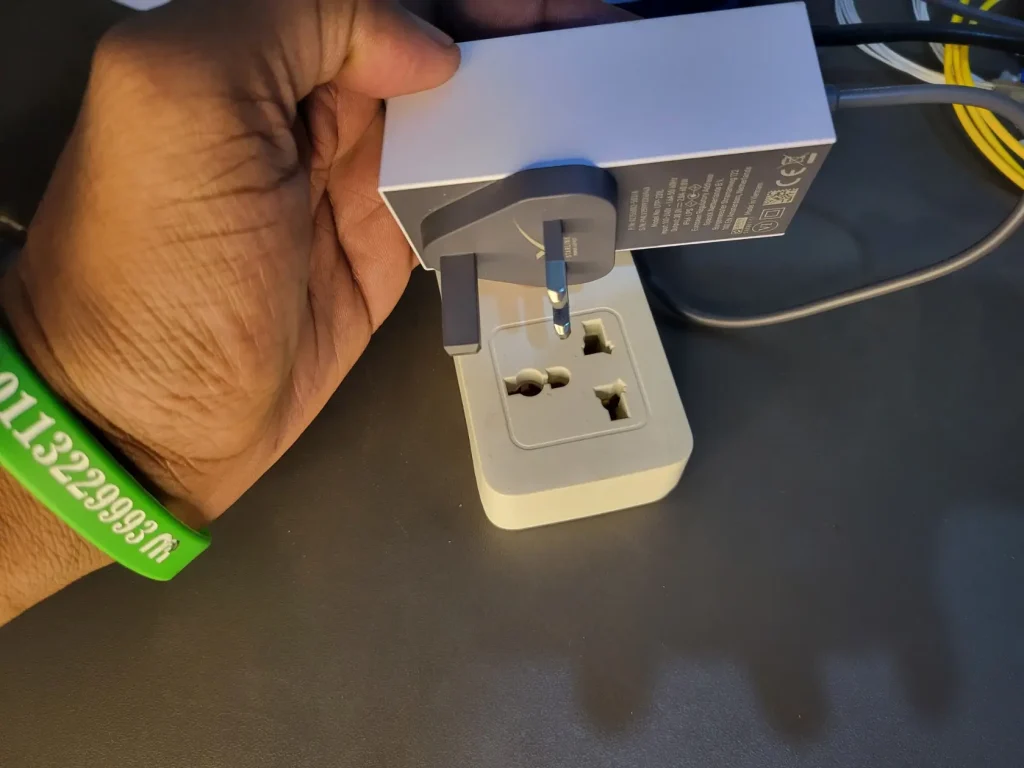
Steps to reboot from the power outlet
The router will power on immediately, while the dish begins reconnecting to the Starlink satellite network. This process usually takes a few minutes.
Tip: Avoid unplugging and reconnecting the power repeatedly. Wait until the system has fully restarted before trying anything else.
If the wall socket is difficult to reach, you can reboot your Starlink by unplugging the power adapter from the back of the router instead. This has the same effect as unplugging it from the mains.
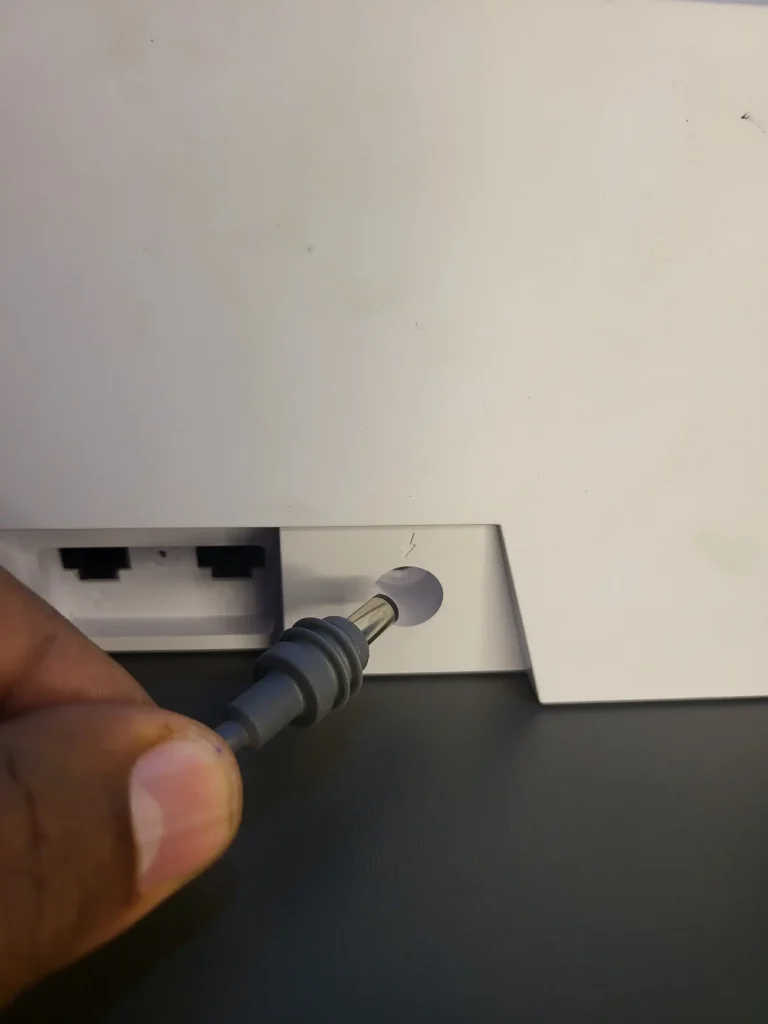
Steps to reboot from the router
Once power is restored, the router will boot up and the dish will reconnect to the Starlink network automatically.
Tip: Hold the connector when unplugging it. Avoid pulling on the cable, as this can damage the connector over time.
Starlink has introduced a redesigned web interface that looks cleaner and is much easier to use than the older version.
If you’re connected to your Starlink network, you can reboot the system directly from your browser without opening the Starlink app or unplugging any cables.
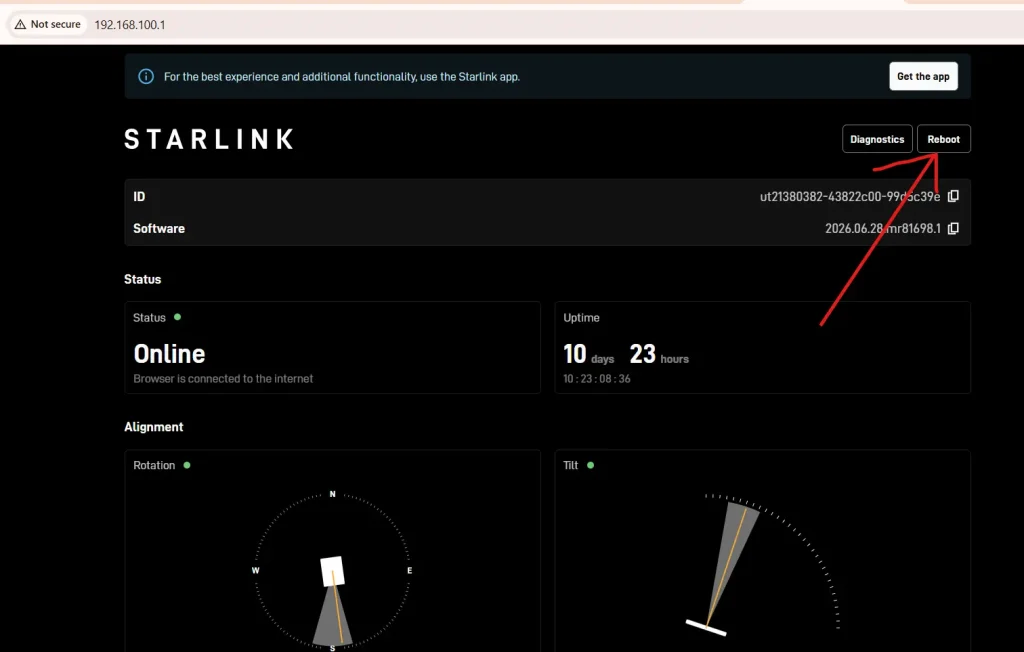
Steps to reboot from the web interface
After you click Reboot, your internet connection will go offline briefly while the system restarts. The Status page will also become unavailable until the reboot is complete.
Note: One drawback of this method is that anyone connected to your network can access the Starlink Status page and reboot your router. If you share your internet with family, employees or hotspot users, this can become a problem if someone restarts the system intentionally or by accident.
The good news is that Starlink has improved the web interface by removing the Stow button.
Previously, anyone with access to the Status page could stow your dish, making it unusable until you unstowed it using the Starlink app. Removing that option has made the interface much safer.
If you’re using a MikroTik router, you can also block access to the Starlink Status page for other users while keeping it available for yourself. I’ll show you how to do that in another guide using MikroTik firewall and Walled Garden rules.
All four methods restart your Starlink system, but some are more convenient than others. Here’s a quick guide to help you choose the right one.
| Method | Best For |
|---|---|
| Starlink App | The quickest and easiest option if you have access to the app. |
| Unplug from the Power Outlet | When the app isn’t working or the router has frozen. |
| Disconnect the Power Adapter | When the wall socket is difficult to reach but you can access the router. |
| Starlink Web Interface | When you’re using a computer or prefer managing your Starlink through a browser. |
For most users, the Starlink App should be the first choice because it’s the safest and simplest method. If that isn’t possible, unplugging the router from power is the next best option.
The web interface is a useful addition, especially now that it has been redesigned. Just remember that anyone connected to your network can access it unless you’ve restricted access on your router.
Rebooting your Starlink is one of the first troubleshooting steps you should try when you experience slow speeds, connection drops or no internet at all. It only takes a few minutes and often resolves temporary network issues without changing any of your settings.
The easiest method is using the Starlink app, but you also have the option of unplugging the router from the mains, disconnecting the power adapter from the back of the router or using the redesigned Starlink web interface at 192.168.100.1.
If your Starlink still isn’t working after trying all four methods, the problem may be related to your cables, power supply, dish alignment or a service outage. In that case, it’s worth carrying out a few additional checks before contacting Starlink Support.
If you’re interested in getting more from your Starlink, check out our other guides where we cover troubleshooting, improving performance, securing your network and blocking access to the Starlink Status page on a MikroTik router.
Thinking about getting Starlink? You can order your Starlink kit today using my referral link below.
When you use it, both you and I receive one month of free Starlink service after your kit is activated.
👉 Order Starlink here today and get 1 month Free.
Don’t have enough cash to pay for the kit upfront? We can help.
WiFi Mtaani offers Lipa Pole Pole (Buy Now, Pay Later) options, making it easier to get connected without paying the full amount at once.
Contact us today:
We’ll help you choose the right Starlink kit and guide you through the purchase and wifi hotspot business installation process.


No Comments